HIA FINALIST for 2015
Kitchen from $30,001-$50,000
Call: 07 5493 1711
31 Technology Dr, Warana QLD 4575
Blog
4th Oct, 2017
21st Jun, 2017
3rd Jul, 2017
9th Jun, 2017
15th May, 2017
9th Feb, 2017
4th Aug, 2016
8th Apr, 2016
8th Apr, 2016
25th Aug, 2015

While our staff will be there to guide you every step of the way, we've put together a step-by-step guide to give you an idea of what to expect throughout each stage of your project:
STEP 1 Designing your kitchen
First of all you'll meet with our designer who will help you determine the perfect layout for your new kitchen. We use design software to create a 3D image of your kitchen so you can get a real feel for how your new kitchen will look. You'll also select colours and finishes and finalise the design and quote. At this early stage you will select and order your appliances and sinks and request that they be delivered to our factory as the cabinetry will be built to suit them.
STEP 2 Check measure
Once your design and specifications have been finalised we will visit your site to do a final measure of the space. After check measure, ordering and production of your cabinetry will commence. Generally the manufacture time can range anywhere from 2-8 weeks depending on the finishes you have selected, availability, and our workload but we can provide you with an estimate based on the specifics of your project.
STEP 3 Site preparation
Once we contact you with an expected install date it's time to prepare the space for the arrival of your new kitchen. Your existing cabinetry should be ripped out the day before the install and the plumbing and electrical fixtures disconnected by your plumber and electrician. If your property requires structural changes (i.e. walls to be moved or built) your builder will have their works completed by this stage also. You might like to get out the take away menus now or fire up the bbq as you could be without a kitchen for a little while (depending on the finishes you've selected).
STEP 4 Installation of cabinetry
On install day our cabinet makers will deliver and install your new cabinetry. Installation can take anywhere from 1-3 days on average depending on the size of your kitchen.
STEP 5 Benchtops
If you went with a laminate benchtop then it will have been installed along with your cabinetry and you can skip past this step. However, if you've selected an engineered stone benchtop then you're in for a slightly longer wait. Our stone mason will visit your site the day after the cabinetry is installed to measure and template the benchtop. Your new benchtop takes about 10 days on average to be manufactured and ready for install so be prepared to be without a functioning kitchen now.
STEP 6 Splashback
If you decided on a glass splashback then this can't be measured until after the stone is installed. Once the stone is in the glass is templated and will be ready to be installed in approximately 10-14 days. If you're tiling this can be booked as soon as the benchtop is fitted.
STEP 7 Reconnections
Now it's time to get your plumber and electrician back to hook up your appliances and plumbing fixtures and get you up and running again.
STEP 8 ENJOY!
Invite some friends over, cook up a feast and enjoy a glass of bubbles in your beautiful new kitchen.

When working with our clients to design their dream kitchen we like to incorporate the latest in design trends while also taking care to create a beautiful space that will stand the test of time without looking dated in a couple of years time.
With that in mind, here are some of the latest trends that have our tick of approval.
Do you have small appliances that you'd like to keep tucked away inside cupboards? How high are they? Do you need to allow extra depth in your drawers or a little extra height in your pantry shelves to accommodate them? Do you have a lot of herbs that need storing? Do you prefer them stored vertically in your pantry or in a purpose made drawer near your oven? Storage requirements are different for everyone, it's important to have a good idea of what you need to store so your cabinetry can be tailor made to suit.

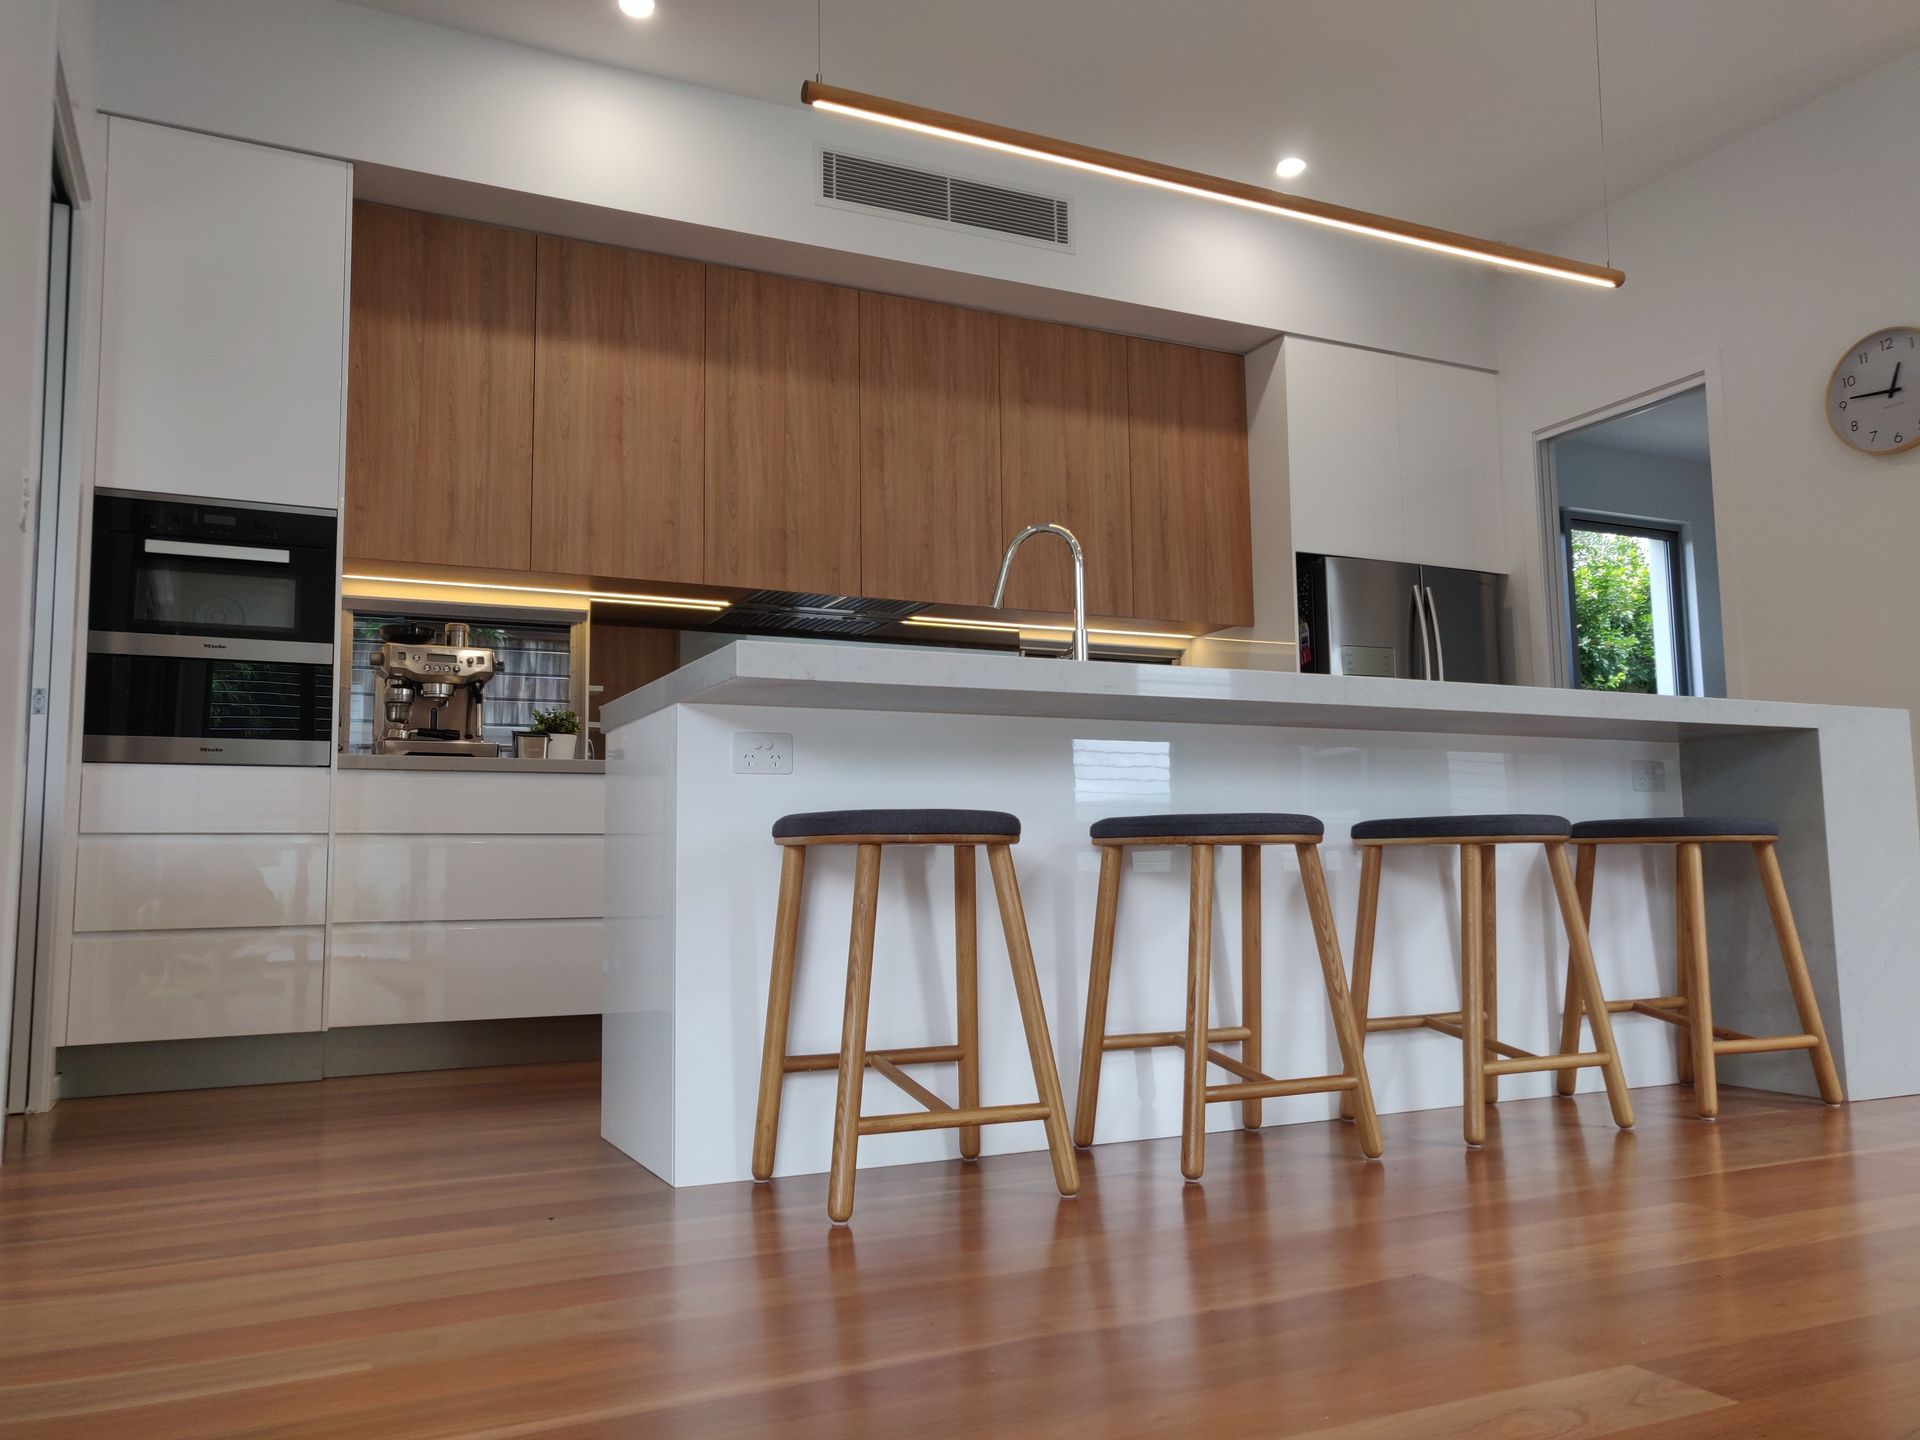
The kitchen and adjoining bar and entertainment unit boast 40mm Smartstone bench tops in 'Athena' with striking waterfall ends. The cabinetry is finished in a white gloss 2pack while the back panel on the island offers a contrasting pop of gloss black.
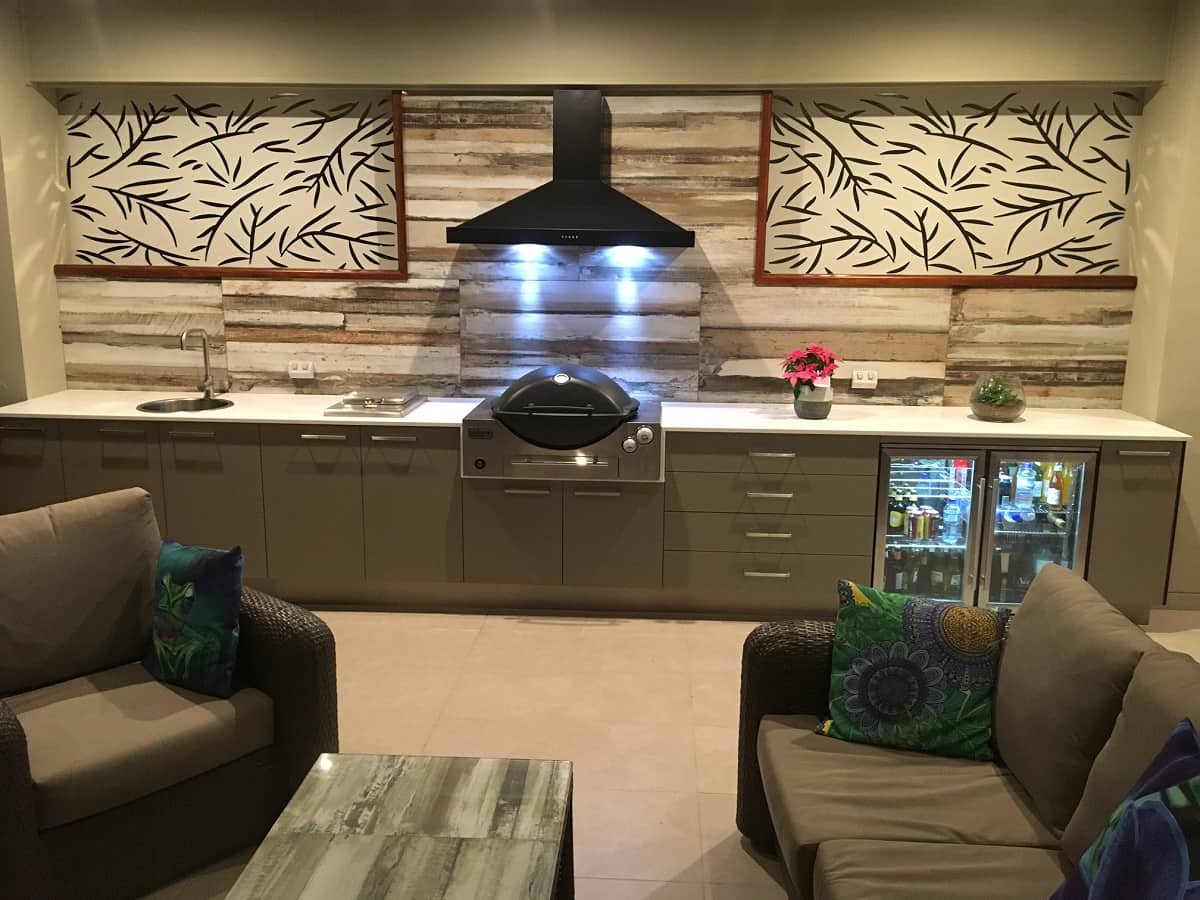
The brand new kitchen is ready and waiting for friends and family to gather around and enjoy this summer!
Many people are choosing to swap out traditional stainless steel sinks, tapware or handles with a rich and effective matt black finish instead.
These recent Cabinetry Solutions projects show off some beautiful black sinks!
Would you consider using black hardware in your new kitchen?

Practical tips for your new kitchen
LAYOUT
A well designed and functional kitchen will offer 'zones' for the various tasks that a kitchen accommodates. It's essential to include a preparation and cooking zone and a cleaning zone. Depending on your space and preference an entertaining zone or a space for friends and family to gather can be a great addition to your kitchen too.
Having separate zones allows for family members to be working in the kitchen in the different zones without getting in each other's way. Your zones should allow for each task to flow nicely. For example, your dishwasher, bin and sink should all be in close proximity to promote a cohesive clean up.
Always consider traffic flow within your kitchen. Ask yourself how many people generally use the kitchen at one time? How many entries/exits do you need into your kitchen? Is one enough or do you need to consider an island to create more access in and out of your cooking and cleaning zones? Likewise, it's essential to allow enough space to comfortably walk between cabinetry and islands or for appliances such as fridges and dishwashers to be opened without blocking off passageways.
Another important consideration is to allow landing space on your benchtops, particularly either side of a cooktop or sink.
FINISHES
It's important to consider your needs and your lifestyle as well as aesthetics when selecting the finishes for your new kitchen.
Many people love the seamless look of 2pac for their cabinets. You can choose from a matt, satin, gloss or metallic finish in almost any colour you can dream up but keep in mind it can be susceptible to scratches and chips if you aren't careful. Alternatively there is a huge range of laminates and melamines on the market allowing you to select either a block colour or a woodgrain or other patterned finish. Laminate cupboards and drawers are finished off with an edge tape in a matching material. Depending on the range you select from, laminate can be a very cost-effective option for your cabinetry.
If you have small children in the home then anything in a gloss finish will show more fingerprints and smudges than a satin finish.
Reconstituted stone is a popular, stylish and hardy choice for bench tops but it's important to remember that it's not indestructible and can't be refinished. Laminate bench tops are an affordable alternative and come in a wide range of colours and finishes but like stone they can scratch and stain. Whatever benchtop you settle on always use a cutting board and be careful with foods and beverages that easily stain (think red wine and beetroot!).
Regardless of the finishes you choose if you treat your new kitchen with love and respect it will last you many years of dinner parties and family functions.
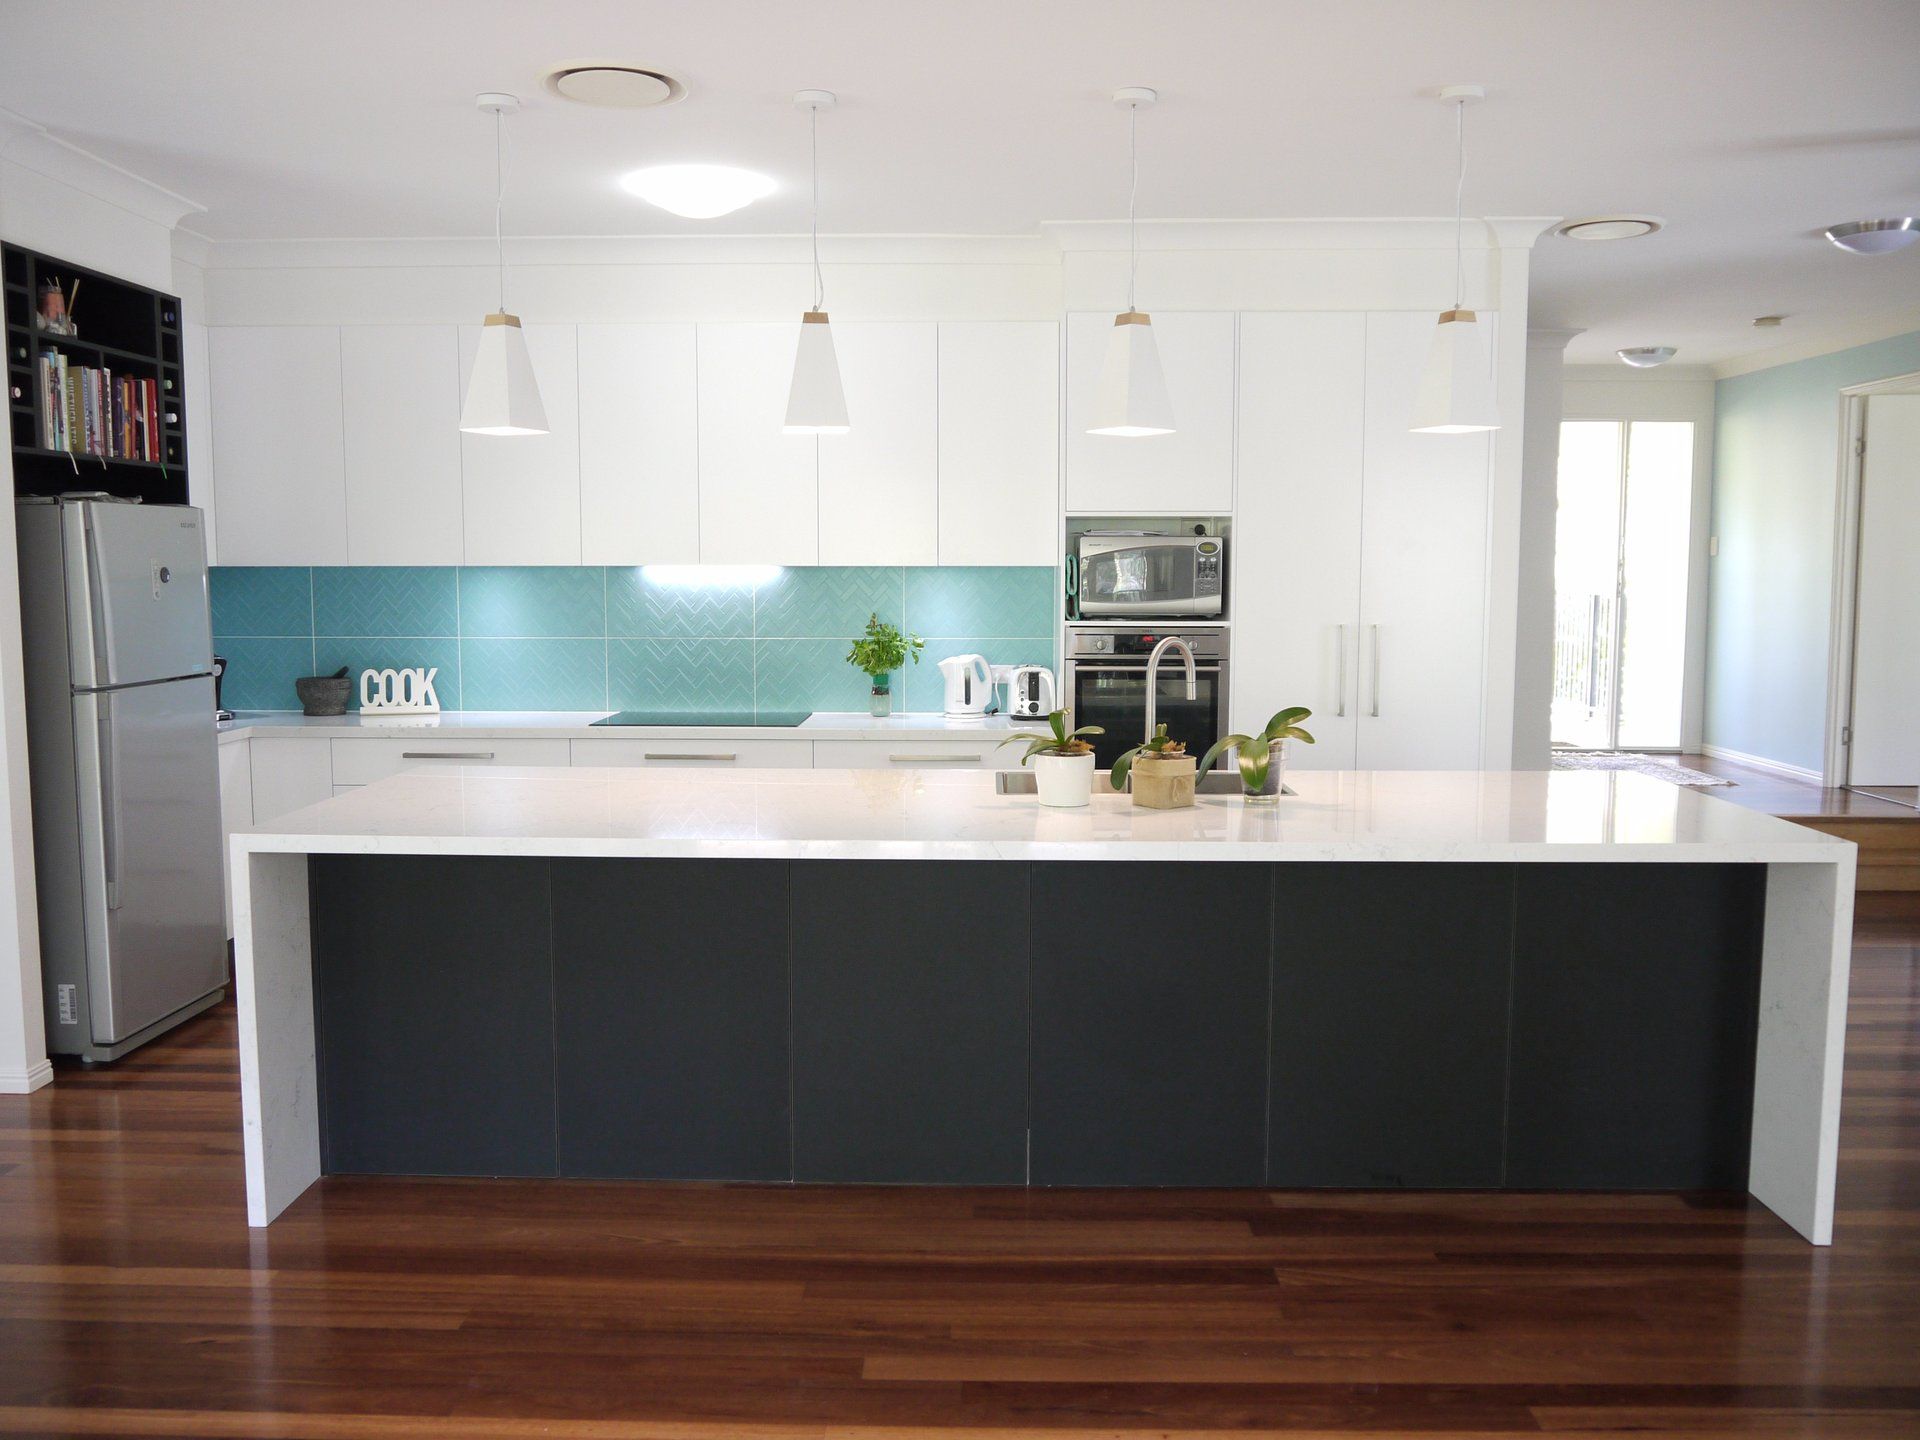
The benchtops are finished in 40mm thick 'Michaelangelo' stone by Quantam Quartz and the cabinets are finished in a white satin 2pac. We introduced a Perfect Sense Black feature by Nikpol to break up the white cabinetry and our customers chose a turquoise splashback to introduce a splash of colour!
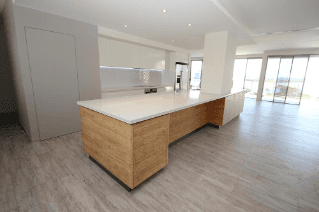
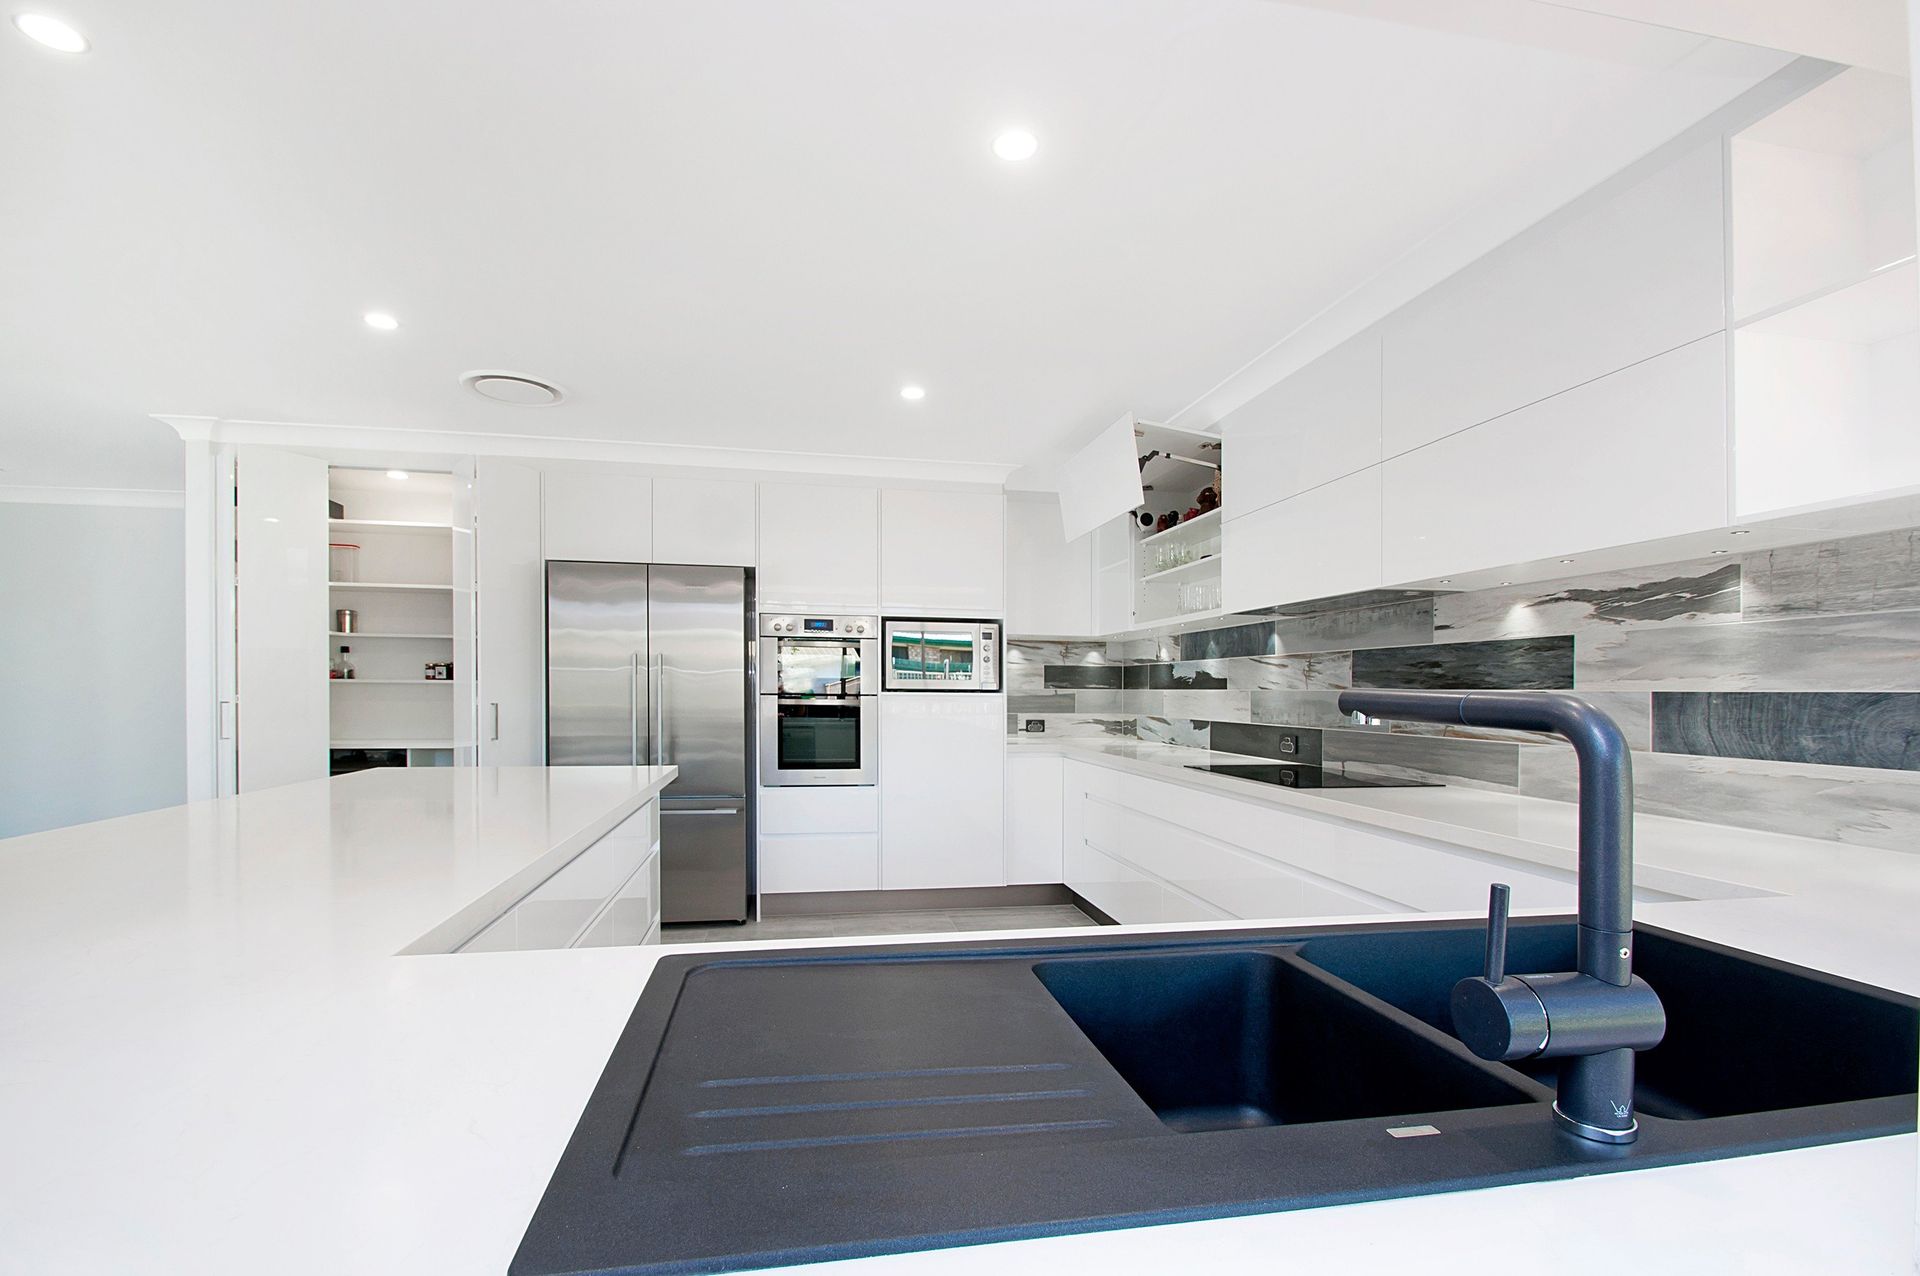
The kitchen cabinetry is finished in a satin 2pac and topped with 40mm Caesarstone 'Fresh Concrete'. The island bench features timber cladding and a 70mm polished concrete top.
Laminex Impressions 'Rural Oak' features on the vanities with 20mm 'Osprey' stone benchtops by Caesarstone.
Have a browse on our website or drop into our showroom at 31 Technology Drive, Warana for more kitchen and bathroom design inspiration and advice.


Services
Contact Us
Phone: 07 5493 1711
Showroom:
31 Technology Drive
Warana QLD 4575
Showroom Hours:
Monday - Friday
7:30am to 4:30pm